---
title: Add an address book
description: Connect a contacts account and add it to a workspace, from Google, Outlook and Zoho to a contacts server.
---
To see contacts in a workspace, add an address book account in the workspace's contacts settings. You can add an account you already connected, or connect a new one.
## Open the contacts settings
Click the workspace tile at the top of the left rail and choose **Contacts**. You can also click **Add address book** in the **Switch address book** menu, or **Go to contacts settings** on the Contacts page of a workspace with no address book.
The page lists the section **Address books in this workspace**. If it is empty, it says "No address books here yet. Use Add address book to pick an account you've already connected, or connect a new one."
## Add an address book you already connected
1. Click **Add address book**. The **Add an address book** dialog opens.
2. Click the account you want. It is added to the workspace straight away.
If every address book account you have is already in this workspace, the dialog says "Every address book you have is already here."
## Connect a new address book account
1. In the **Add an address book** dialog, click **Connect a new account**.
2. Pick the kind of account. The list shows only what your administrator has set up. Contacts servers are listed by the name your administrator gave them.
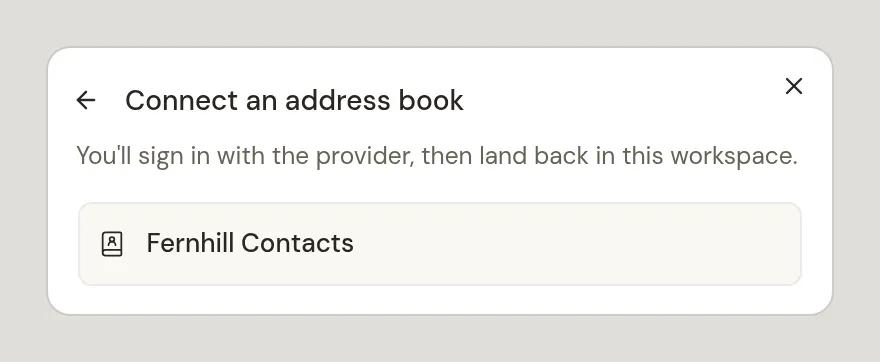
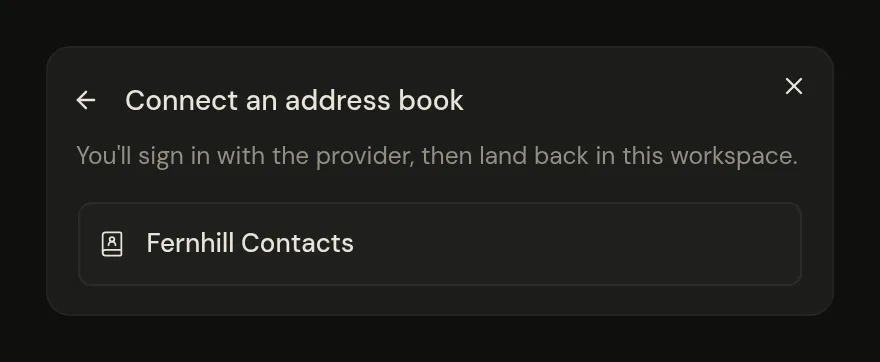 3. Follow the steps for that kind of account, below.
### Google Contacts, Outlook Contacts and Zoho Contacts
Click **Google Contacts**, **Outlook Contacts** or **Zoho Contacts**. You sign in with the provider, then come back to this workspace's contacts settings.
If you sign in with an account you already use in Metis Suite for mail, calendar or drive, the address book is added to that same account. The provider asks you to allow access to your contacts.
If something goes wrong at the provider, you land in your default workspace without a message, and the address book is not added. Try again.
### A contacts server
A contacts server (also called a CardDAV server) is one your administrator set up. Click its name, then fill in:
- **Email address**: your email address.
- **Username**: your login on the server. If you leave it empty, your email address is used.
- **Password**: your password on the server.
Click **Connect address book**. Metis Suite checks your login before it saves anything. When it works, you see "Address book connected" and the account is added to this workspace. If not, you see the server's message or "Could not connect that account".
Your administrator sets up the server itself. You only bring your own login.
## After you add an address book
A new address book account shows no contacts until you switch its address books on. This step is easy to miss.
1. On the contacts settings page, click the arrow at the end of the account's row (**Show address books**).
2. Switch on the address books this workspace should show, and click **Save**.
See [Show and hide address books](/guide/contacts/show-and-hide-address-books) for the details.
Every member of the workspace then sees the contacts, and can create, edit and delete them.
If the workspace has AI turned off, the **Add an address book** dialog tells you so: "This workspace has AI turned off. Address books you add here follow that, whatever they are set to in your other workspaces."
## Turn AI on or off for an address book
Each row has an AI control: a robot icon whose label reads "AI is on for this address book here" or "AI is off for this address book here". It controls whether the assistants and connected MCP clients can read this address book in this workspace and, with your approval, change it. Other workspaces are not affected.
- **Only the person who connected the account can click it.** Everyone else sees a plain icon.
- **Turning AI on asks for your authenticator code.** The dialog is "Turn AI on for this address book here?". Enter the code and click **Turn AI on**.
- **Turning AI off needs no code.**
When the address book's own AI setting is on but the workspace has AI turned off, the row shows **Off here**. The AI control appears only when your instance has AI set up. See [Add and remove resources](/guide/workspaces/add-resources#turn-ai-on-or-off-for-a-resource).
## Remove an address book from the workspace
1. Click **Remove** on the row.
2. Confirm in the dialog that asks to remove the account's email address from this workspace.
This workspace loses the address book and the choices of which address books it shows. The account stays connected, keeps working in your other workspaces, and nothing is disconnected at the provider. Your contacts are not deleted.
You can remove the address books you connected yourself. Every member sees **Remove** on every row, but only owners and admins can remove an address book that someone else connected. A member who tries sees "Only an admin can remove someone else's address book".
## Your address books in account settings
Open the account menu at the bottom of the left rail and choose **Address books**. The page lists "Every address book connected to your account, and which workspaces use it."
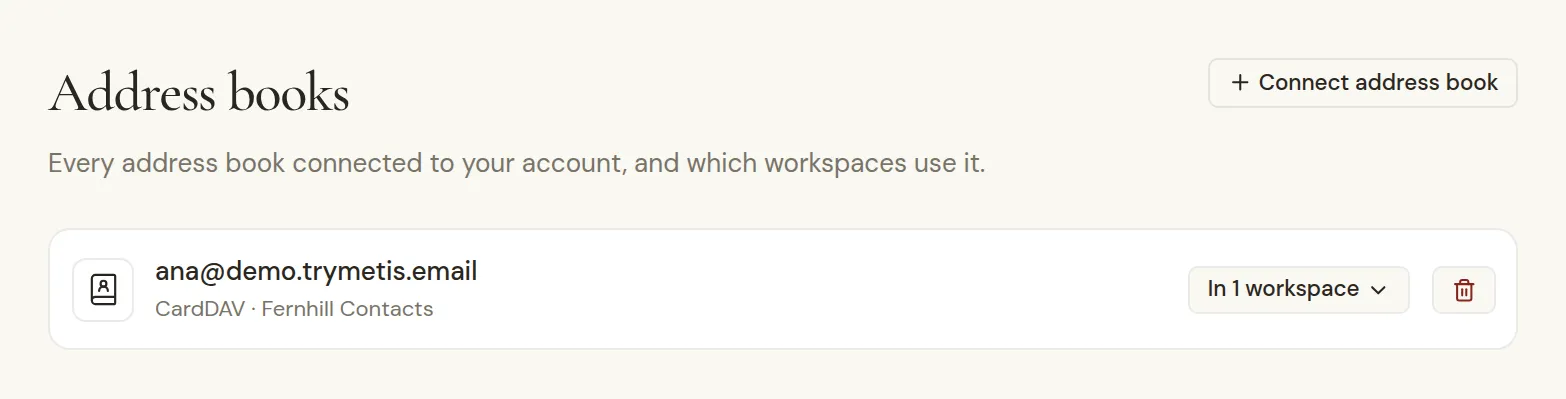
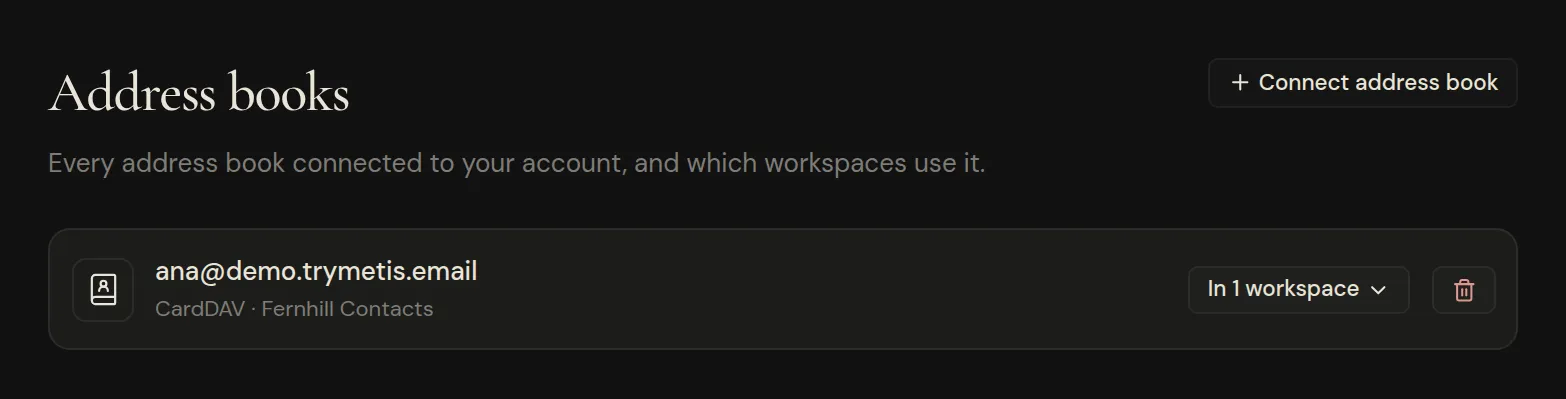 - **Connect address book** connects a new account without adding it to any workspace.
- **In 1 workspace** (or **In 2 workspaces**, and so on) shows each workspace that uses the address book. There you can turn AI on or off for one workspace, use **Turn AI on everywhere** or **Turn AI off everywhere**, or remove the address book from one workspace.
- The trash icon removes the address book from every workspace. If you use the same account for no mailbox, calendar or drive either, Metis Suite disconnects it completely. Otherwise the account stays connected for those. Your contacts are untouched.
See [Manage your connected accounts](/guide/workspaces/manage-connected-accounts) for more.