---
title: Browse your contacts
description: Open Contacts, switch between address books, filter the list and open a contact's card.
---
This page shows you how to open your contacts, move between address books, find a person and read their details.
 ## Open Contacts
Click the **Contacts** icon in the left rail. It sits between **Drive** and **Workspace AI**. You can also open workspace search and run the command **Go to contacts**.
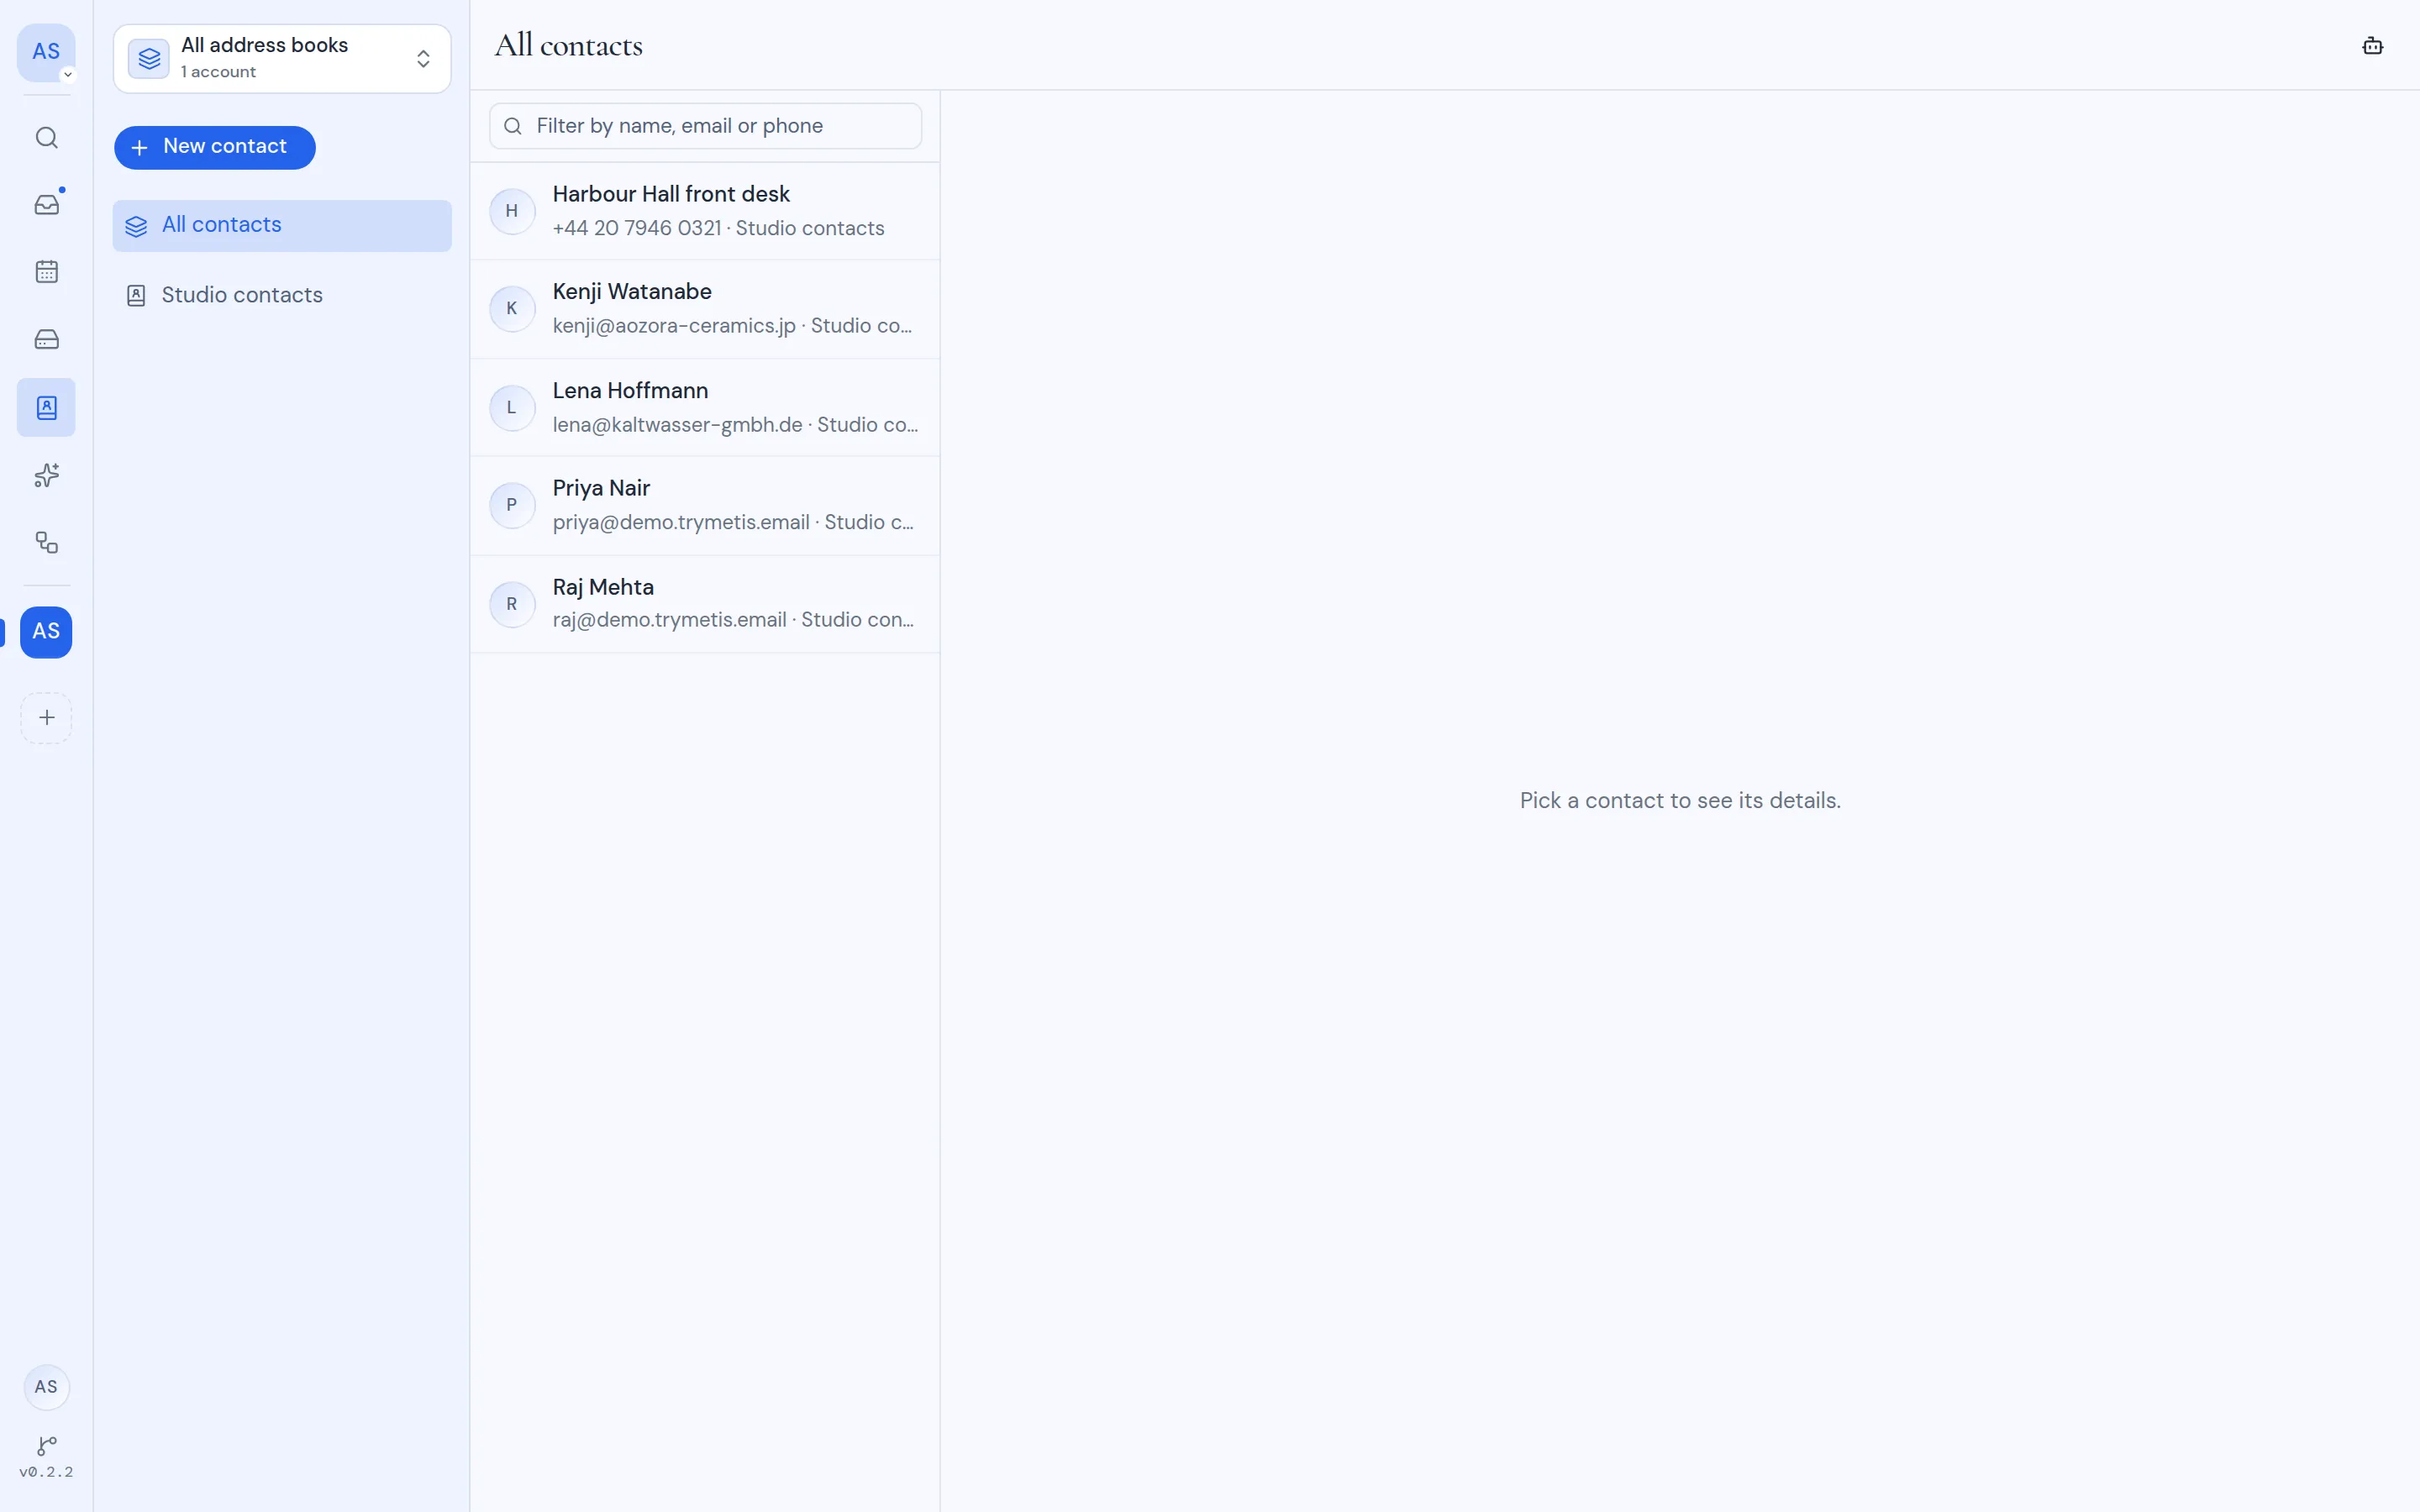
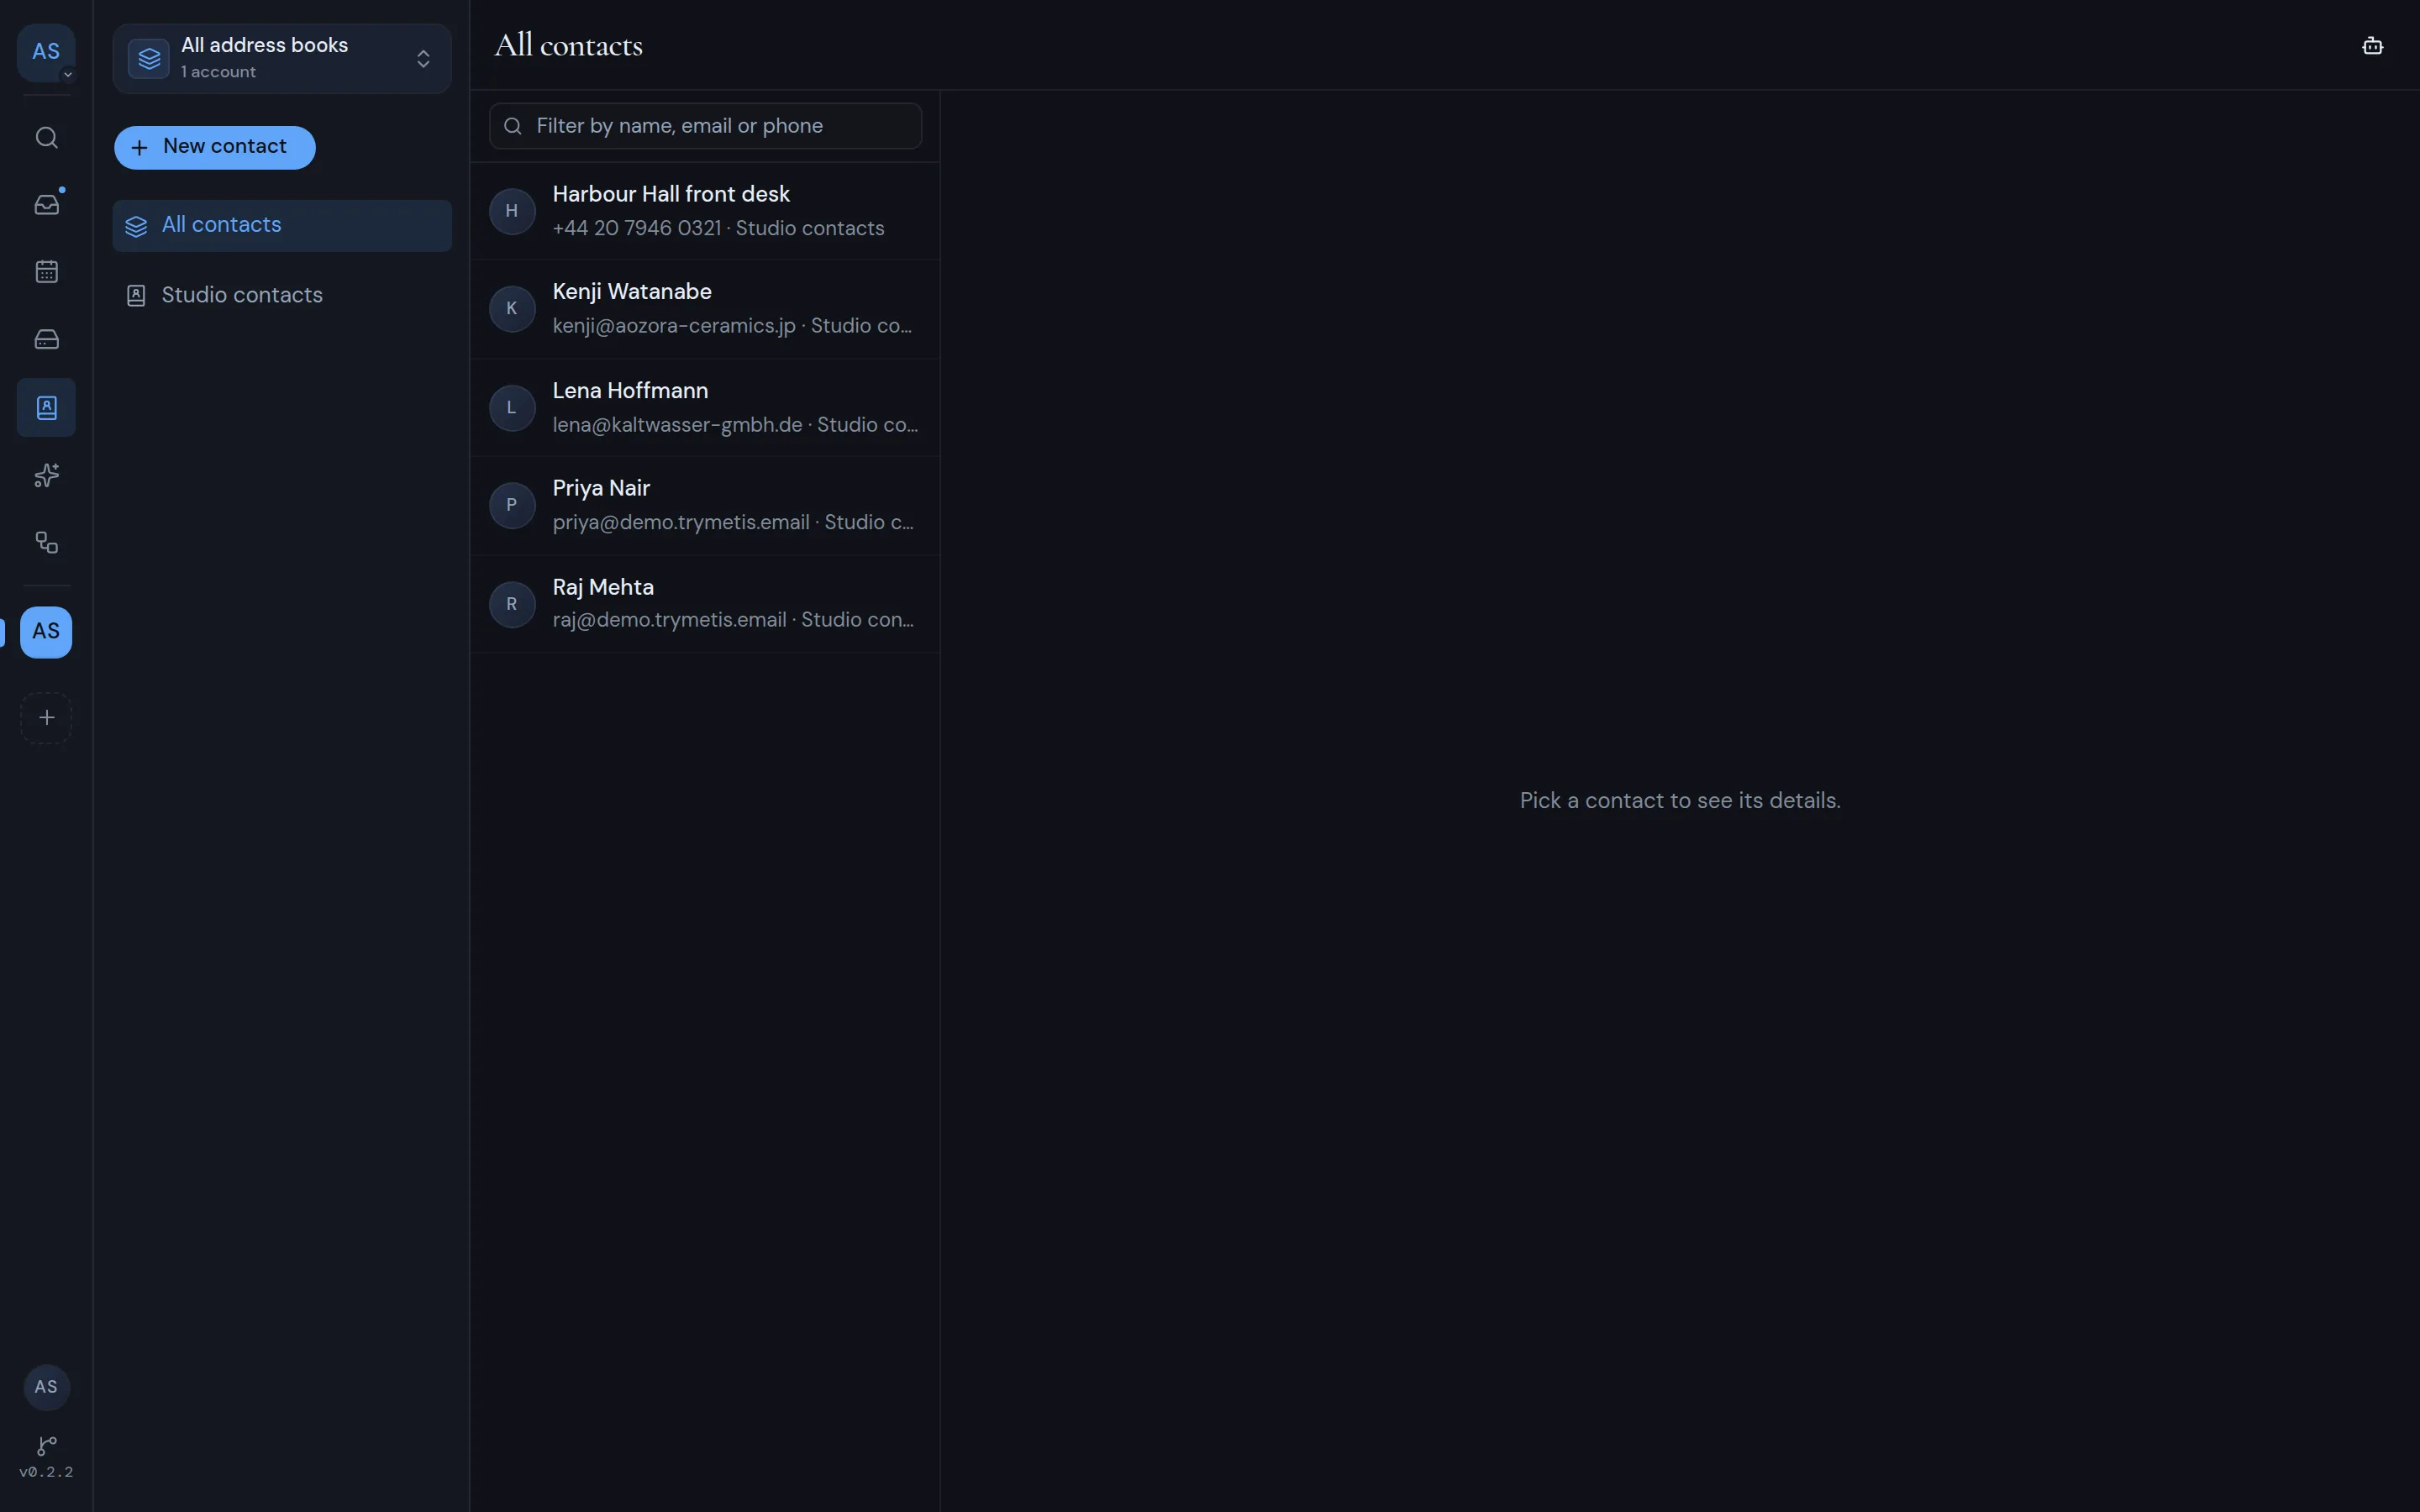
If your workspace has address books, you see **All contacts**: the contacts from every address book in the workspace in one list, sorted by name.
If the workspace has no address book yet, you see "No address book in this workspace" and a **Go to contacts settings** button. To add one, see [Add an address book](/guide/contacts/add-an-address-book). If the card says "No address book providers are set up yet. The instance owner adds them in the dashboard.", nobody on your instance can connect an address book yet. Ask your instance owner to add a provider.
A workspace that has only address books, and no mailbox, calendar or drive, opens on Contacts. When you switch to another workspace from Contacts, you land on that workspace's Contacts.
Contacts has no keyboard shortcuts.
## Switch between address book accounts
The button at the top of the sidebar shows which account you are looking at. It says **All address books** with the number of accounts, such as "2 accounts", or it shows one account's provider and email address.
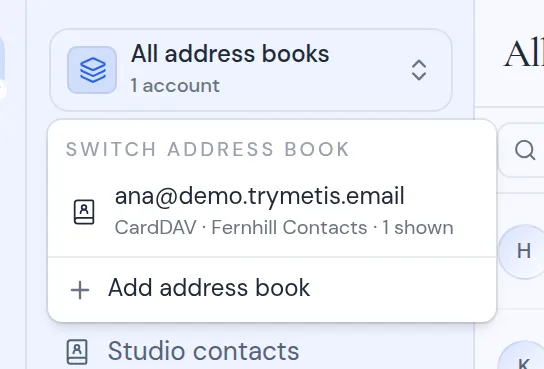
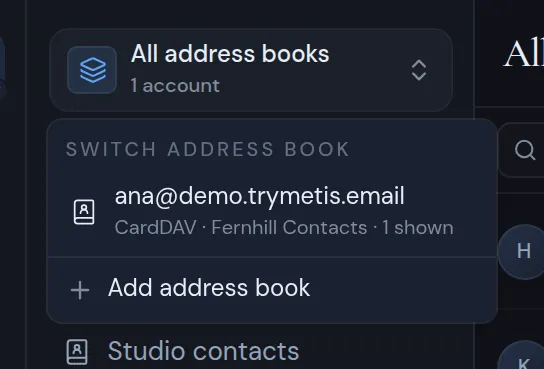 1. Click that button to open the **Switch address book** menu.
2. Choose **All address books** ("Every address book in this workspace") to see every contact together. This choice appears when the workspace has more than one account.
3. Or choose one account to see only its contacts. Each account shows how many of its address books are shown, such as "2 shown", or "No address books shown".
**Add address book** at the bottom of the menu opens the workspace's contacts settings. If the workspace has no address book, the menu says "No address books in this workspace yet."
## The sidebar
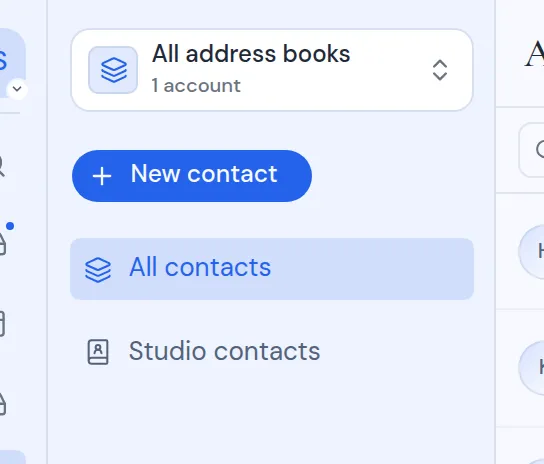
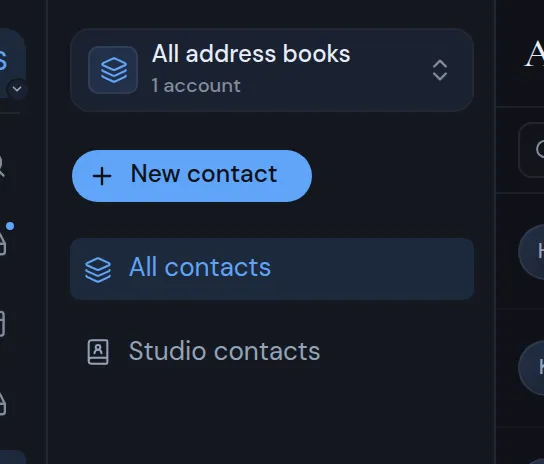 From top to bottom, the sidebar has:
- the account button described above;
- the **New contact** button. See [Create, edit and delete contacts](/guide/contacts/create-edit-and-delete);
- **All contacts**, which shows every contact in view;
- one row for each address book the workspace shows. Click a row to see only that address book. When the workspace has more than one account, the address books are grouped under each account's email address;
- **Groups**, when your address books have groups. Click a group to see only its members. Groups come from Google contact groups and Zoho categories. See [Address book types](/guide/contacts/address-book-types).
On a phone, the sidebar is hidden. Tap **Open sidebar** to show it.
### When the sidebar shows no address books
- "None of your address books are showing in this workspace yet." means you added an account to this workspace, but none of its address books are switched on. Click **Choose which address books to show** to fix it. See [Show and hide address books](/guide/contacts/show-and-hide-address-books).
- "No address books are showing in this workspace yet." means no address book is switched on for this workspace. The **Contacts settings** link opens the workspace's contacts settings.
## Filter the list
Type in the box above the list (it says "Filter by name, email or phone"). The list keeps only the contacts that match every word you type. The filter looks at the name, nickname, organization, job title, email addresses and phone numbers.
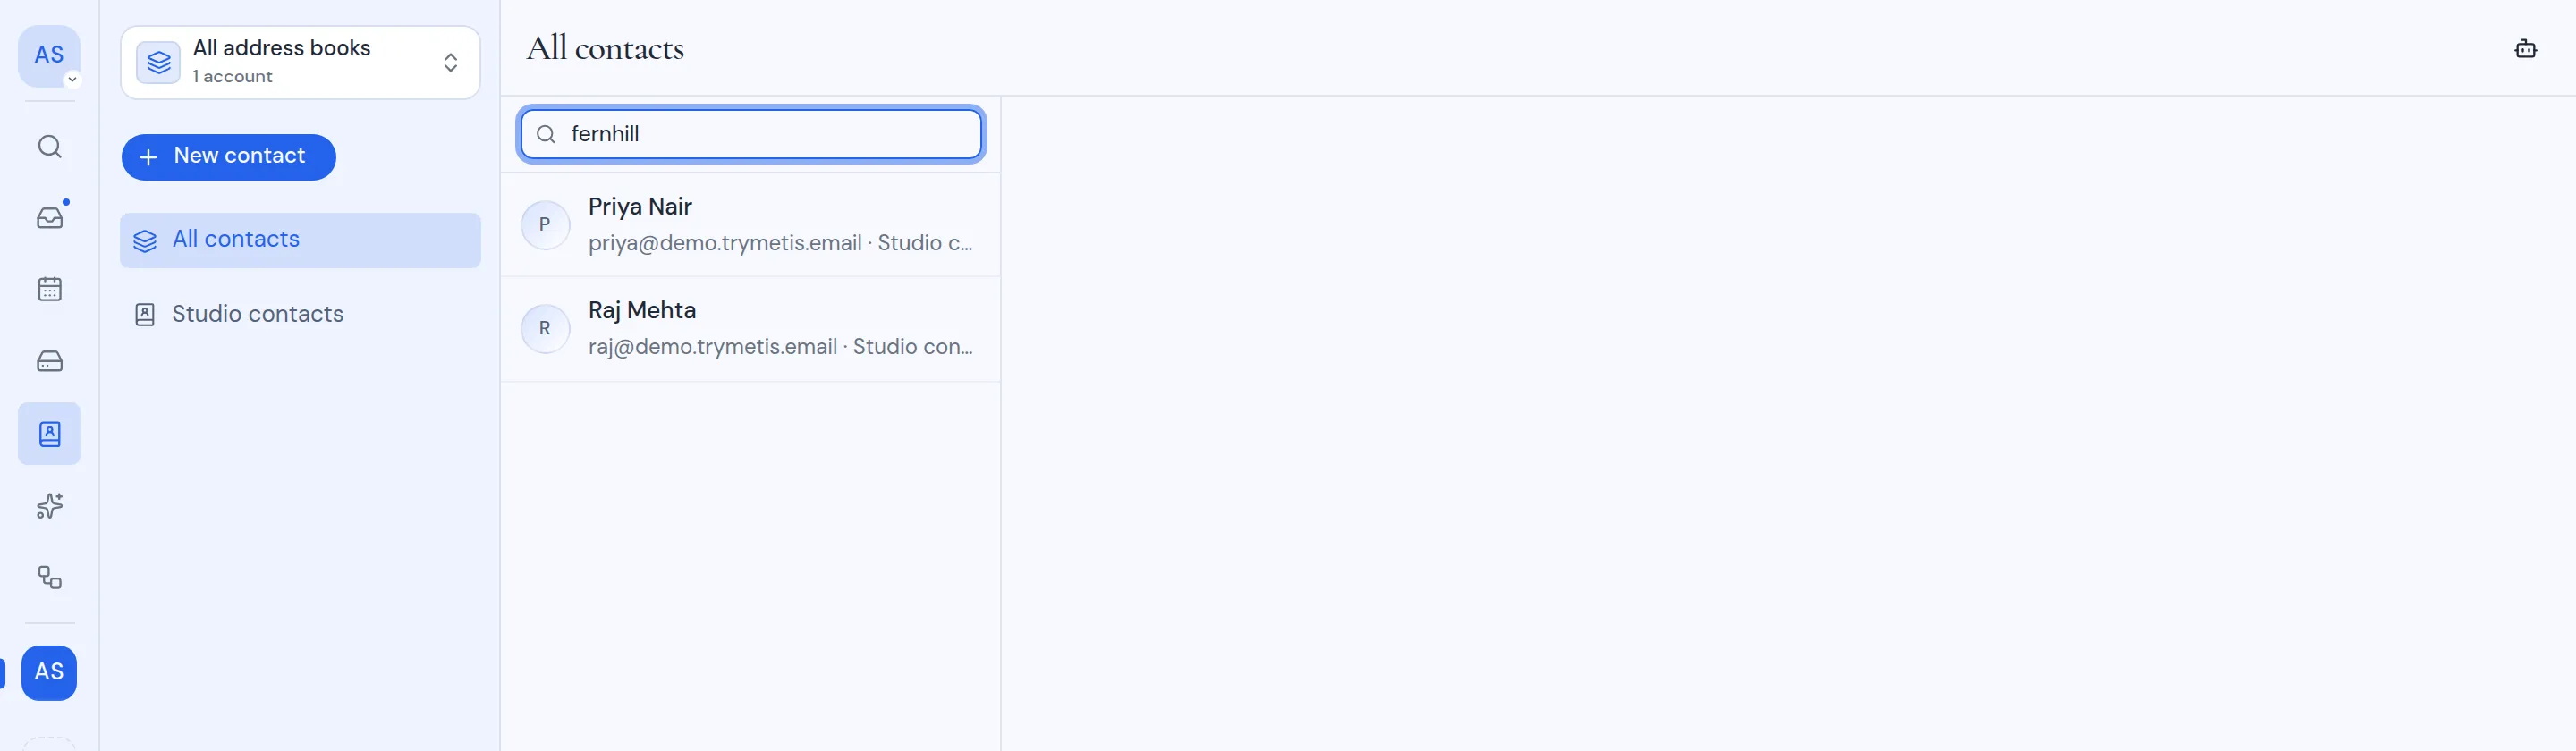
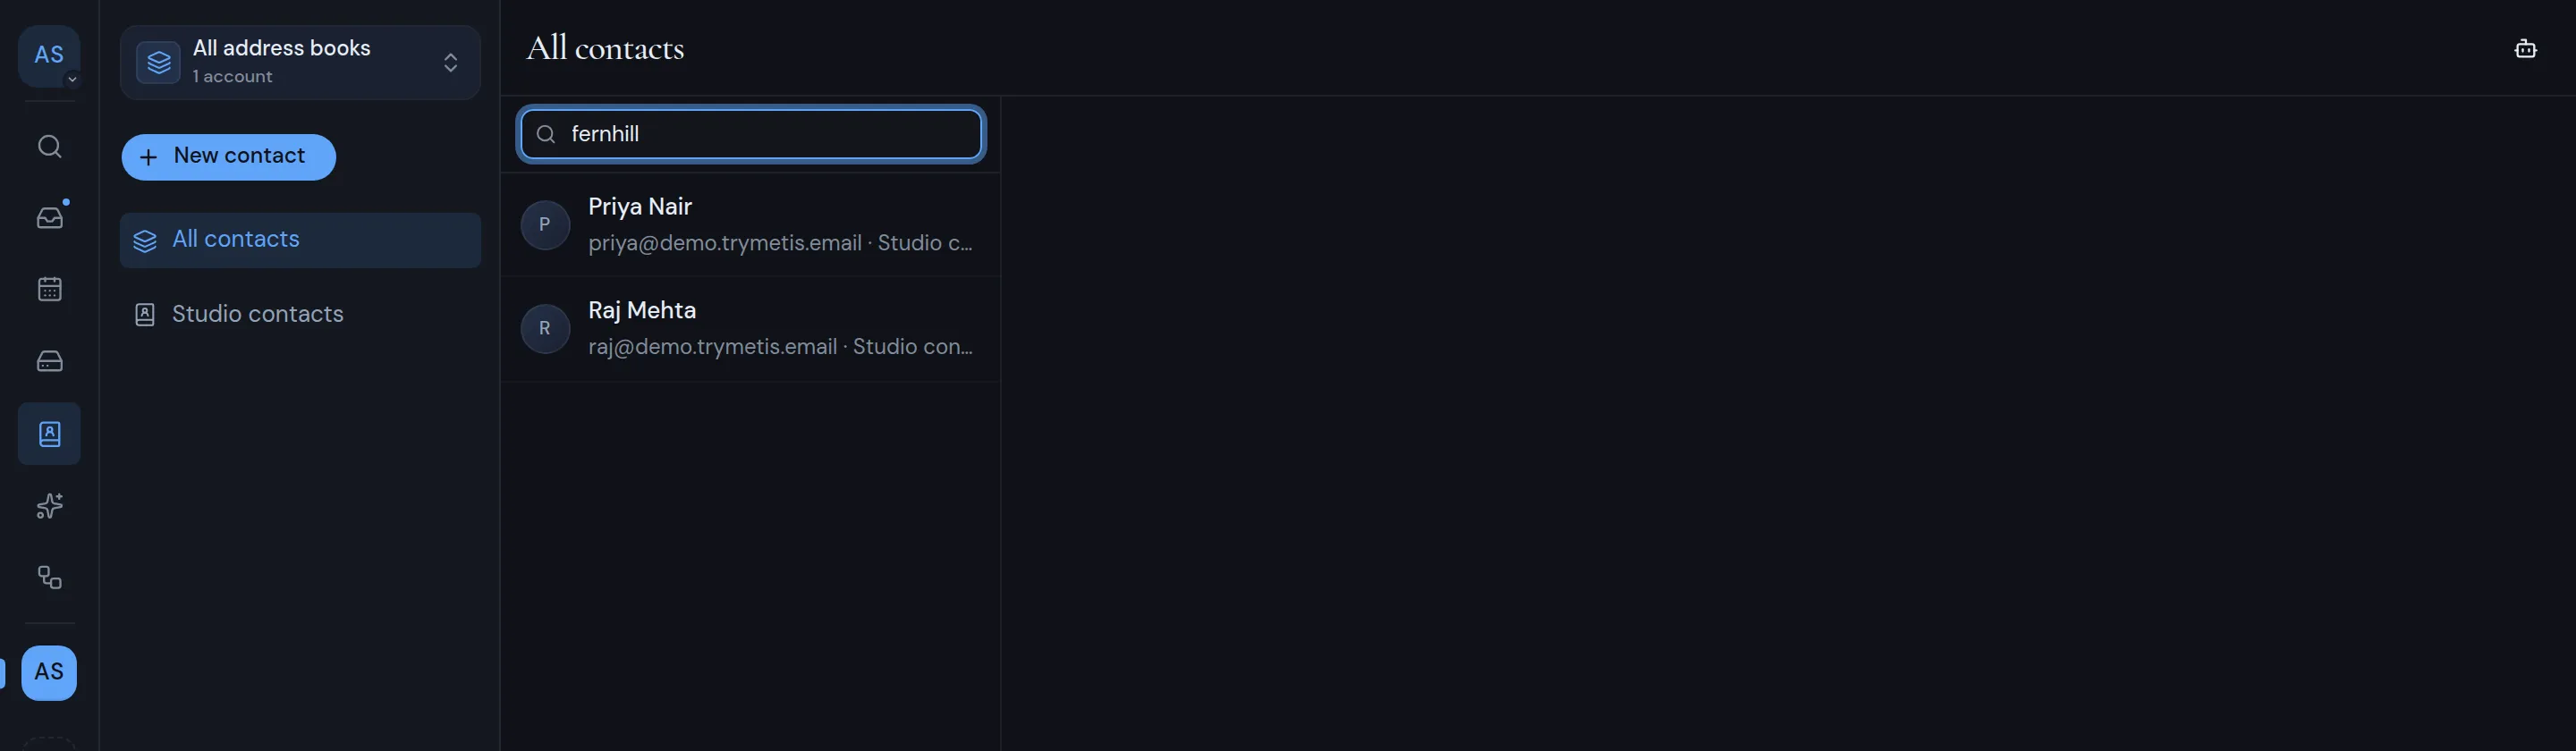 Each row shows the contact's picture or first letter, their name, and one more line: their email address, or their first phone number, or their organization. In **All contacts**, that line also ends with the name of the address book, such as "Contacts".
A contact with no name shows its email address instead, or "Unnamed".
If nothing matches, you see "No contact matches that filter." An empty address book shows "No contacts here yet."
To find a contact from anywhere in the workspace, you can also use [workspace search](/guide/search/search-your-workspace). When you open search while you look at one address book account, the search box already holds `addressbook:` and the account's short name, so you search only there. From **All contacts**, the box starts empty.
## Open a contact
Click a contact in the list. Their card opens on the right. Until you pick one, the right side says "Pick a contact to see its details."
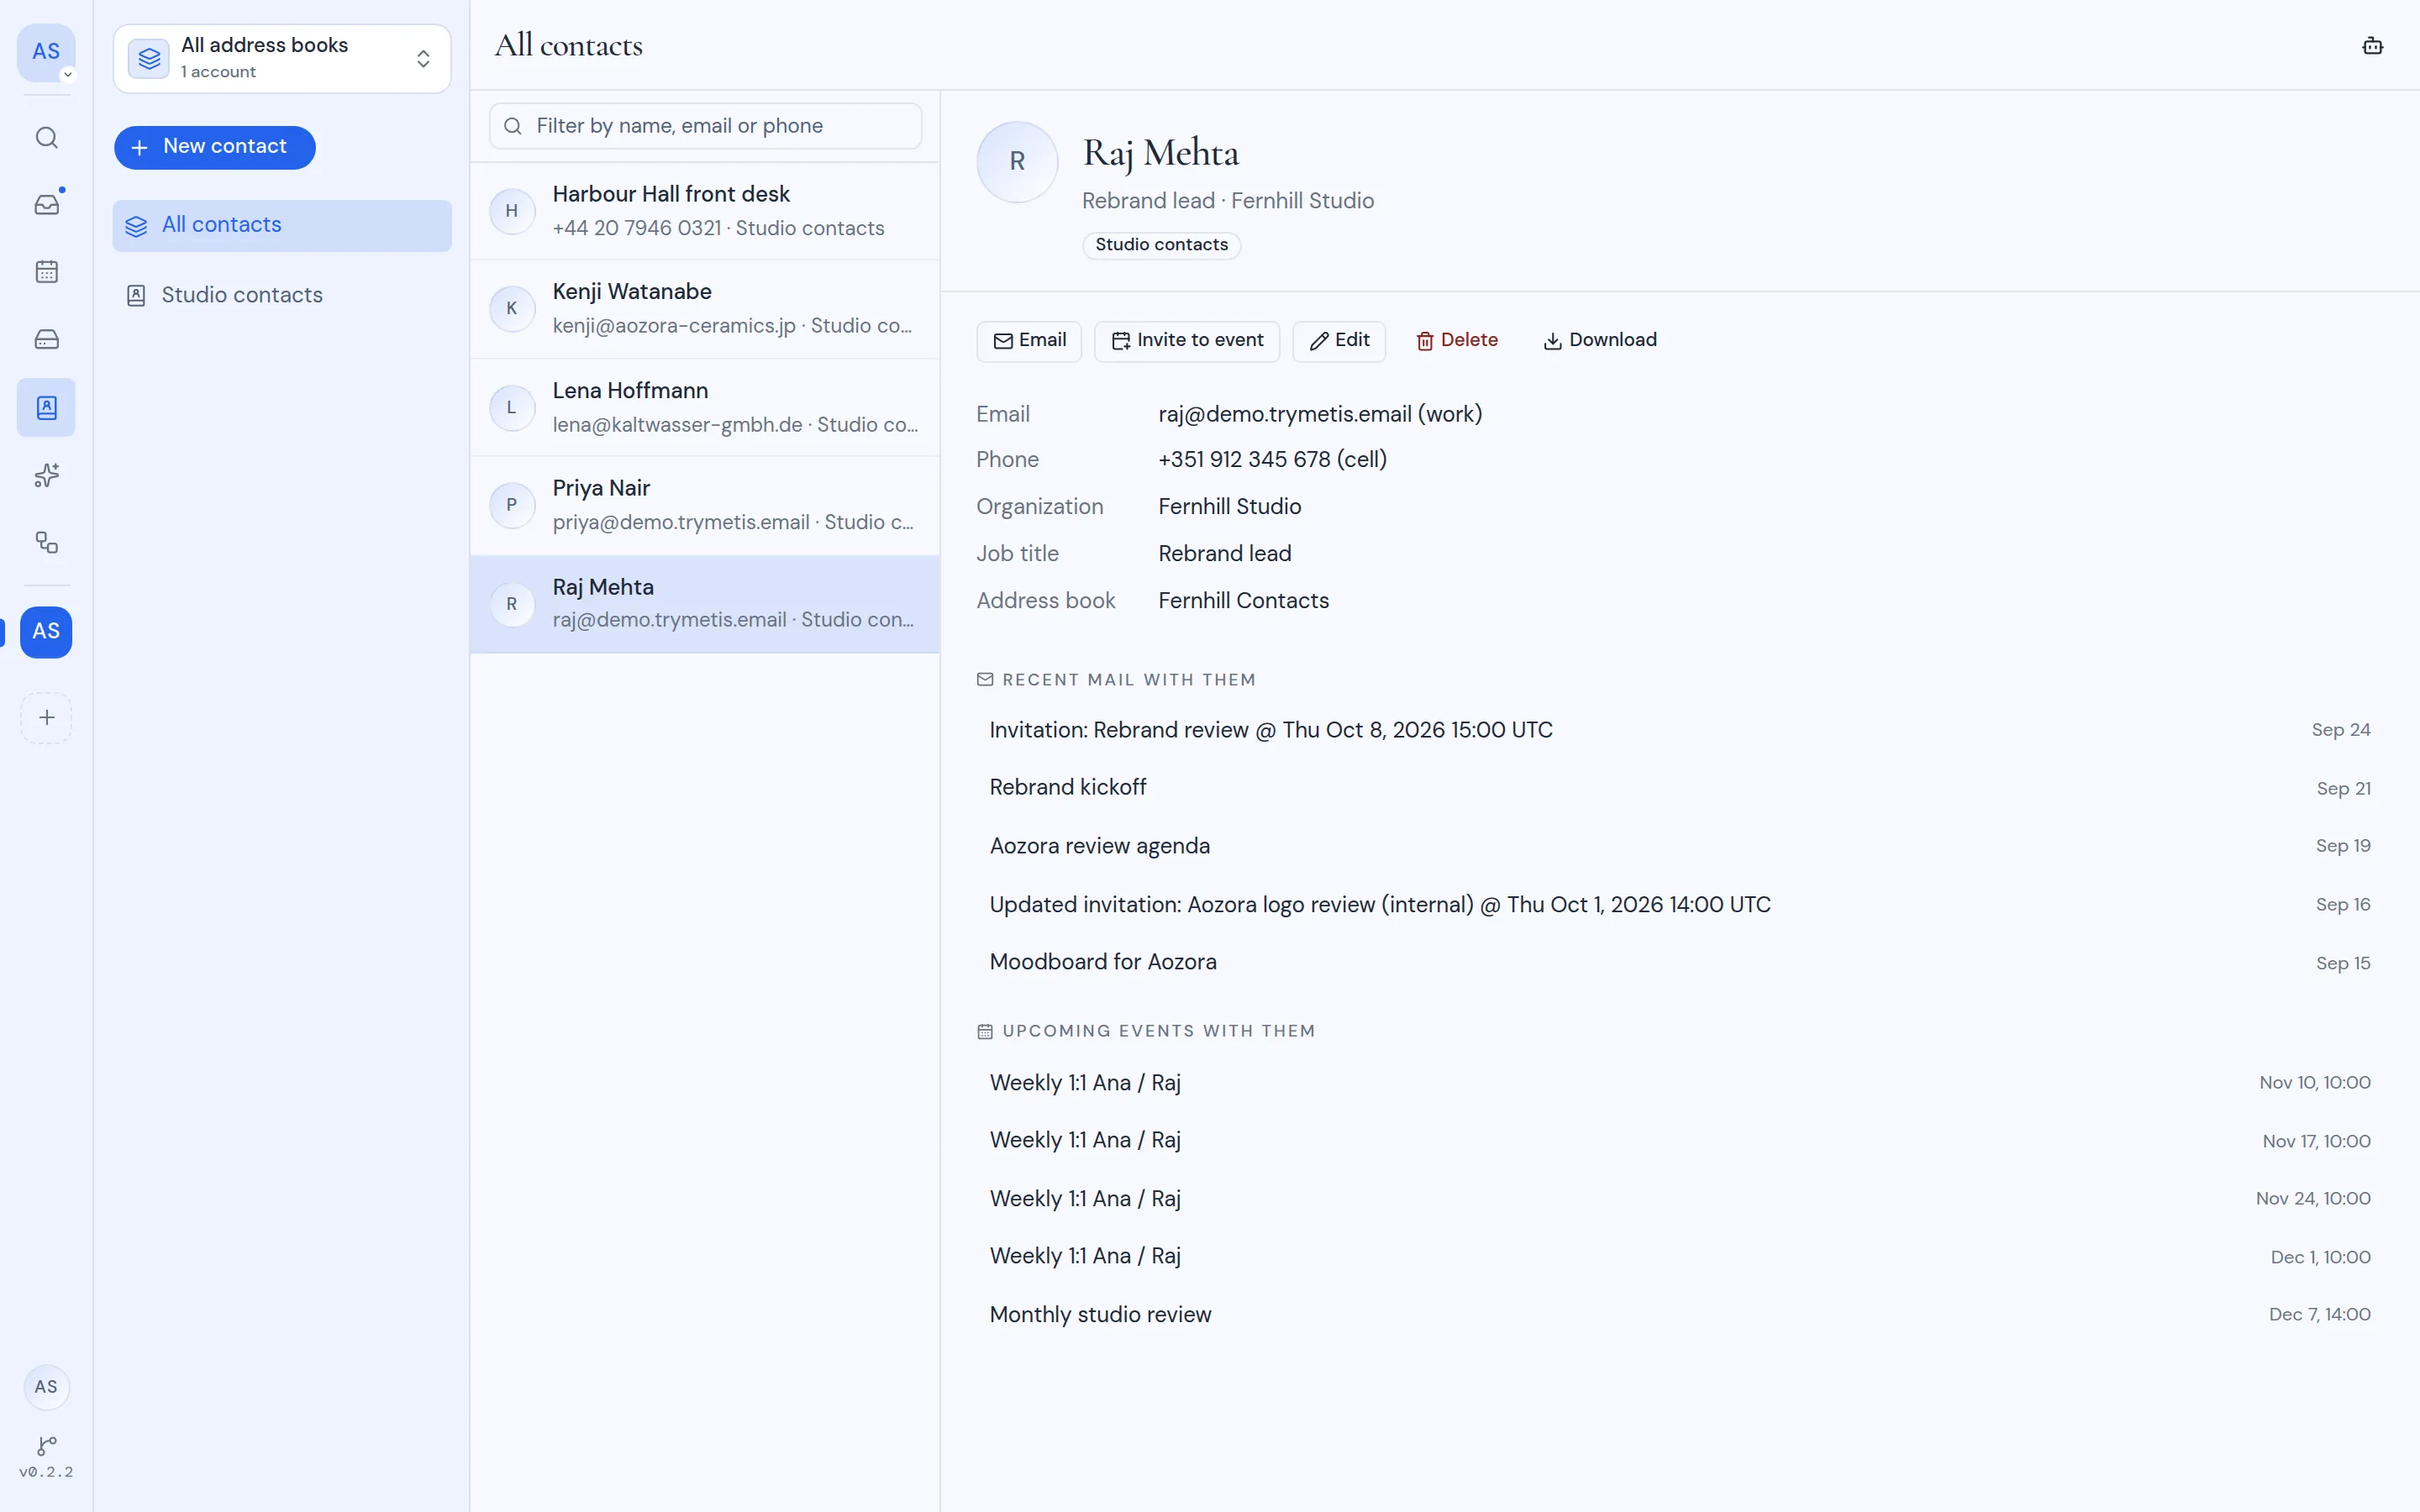
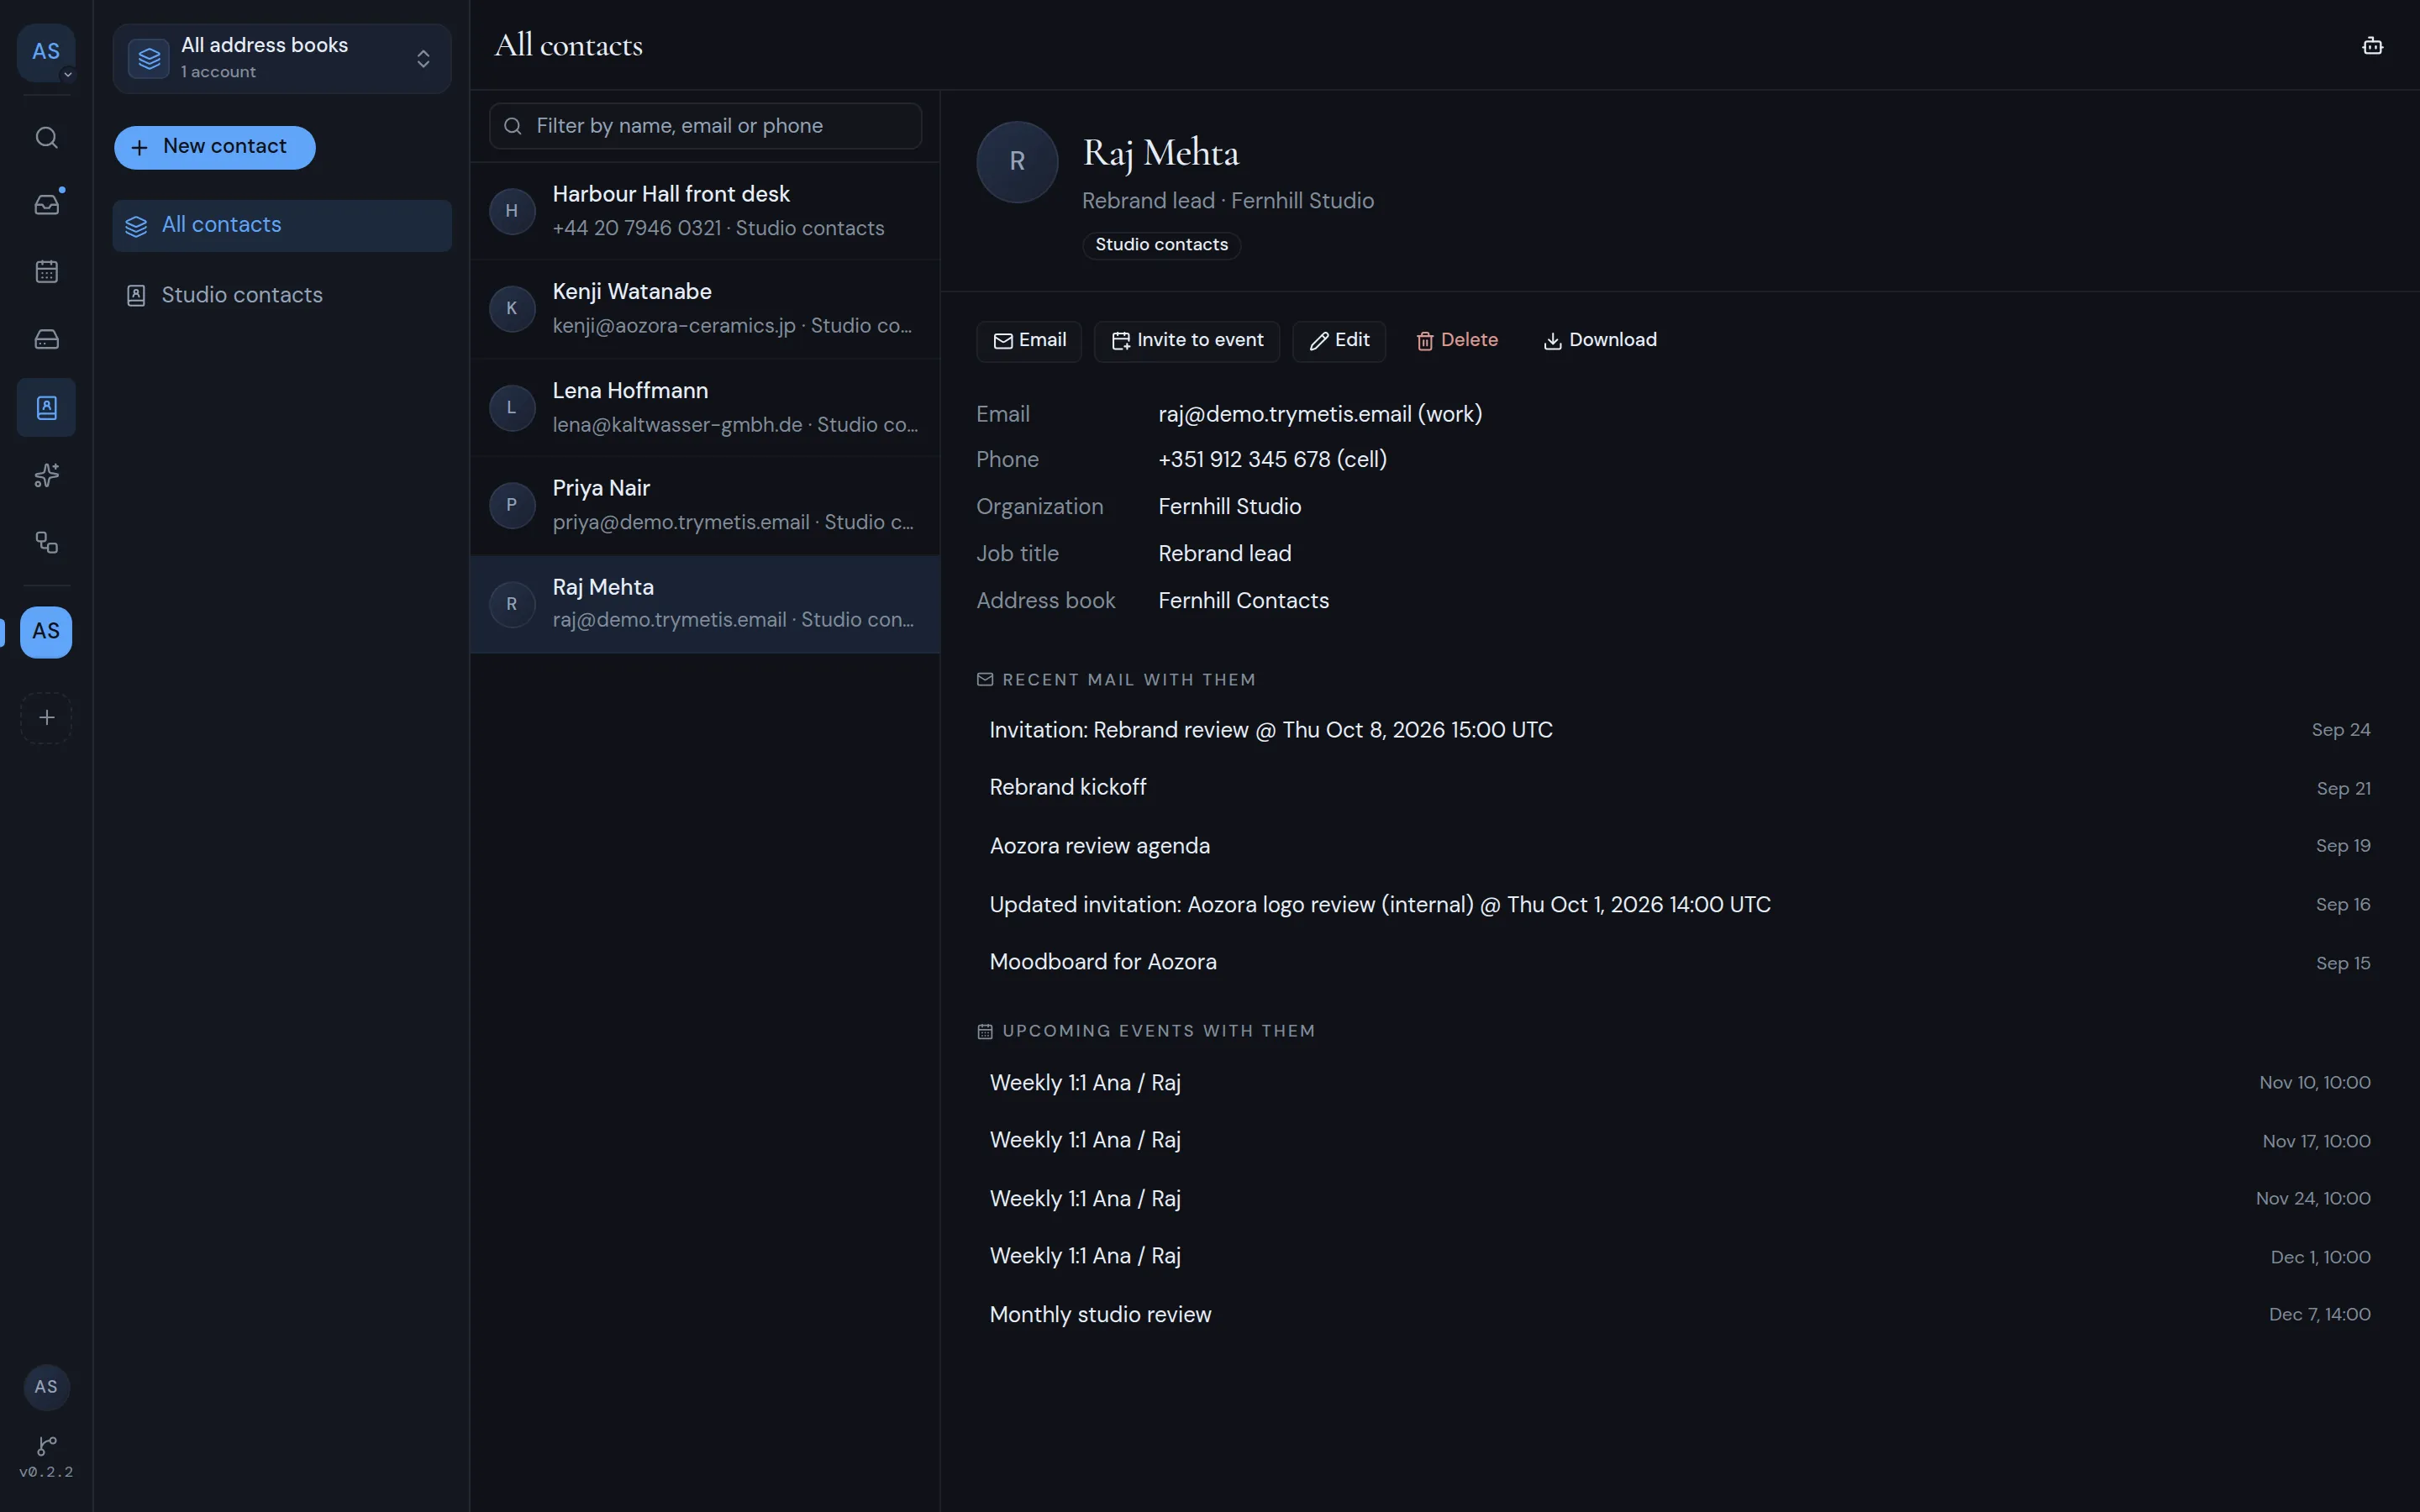 The card shows:
- **The name**, with their job title and organization under it, or the name of the address book.
- **Badges.** **Member** and their role, such as "Member · admin", when one of their email addresses belongs to a member of this workspace. Then the name of the address book.
- **Buttons:**
- **Email** opens a new message to them.
- **Invite to event** opens a new event with them as a guest.
- **Edit** and **Delete**. See [Create, edit and delete contacts](/guide/contacts/create-edit-and-delete). They are turned off for a contact in a read-only address book.
- **Download** saves the contact as a `.vcf` file. The file is named after the contact's name, or its organization or email address when it has no name. Letters in any language are kept, and only characters a file name cannot hold are left out. If nothing usable is left, the file is `contact.vcf`. The file holds the contact's name, nickname, email addresses, phone numbers, addresses, organization, department, job title, birthday, websites and notes, with labels such as "work" kept. You can import it into another app.
**Email** and **Invite to event** are turned off when the contact has no email address.
- **Their details**, each only when it has a value: **Email** (the main one says **Email (primary)**, and a label such as "work" shows in parentheses), **Phone**, **Address**, **Nickname**, **Organization**, **Department**, **Job title**, **Birthday**, **Website** and **Notes**. **Address book** shows which account the contact belongs to.
- **Recent mail with them** and **Upcoming events with them**, up to 5 of each.
On a phone, the card fills the screen. Tap the back arrow (**Back to contacts**) to return to the list.
### How accounts are named
Metis Suite names each address book account so you can tell them apart. Google, Outlook and Zoho accounts show the type, then the email address, for example "Google Contacts · you@example.com". A contacts server shows the name your administrator gave it, for example "Company contacts".
## If an account does not load
When an account cannot be reached, a red line under the header names the account and the error. The contacts from your other accounts still show.
## Who can see and change contacts
Every member of the workspace sees the contacts in every address book the workspace shows, whatever their role. Every member can also create, edit and delete those contacts, including contacts in address books that someone else connected.