Create, edit and delete contacts
Add a new contact to an address book, change a contact's details, or delete a contact.
Every change you make here is saved in the address book at your provider. It shows up in every other app that uses the same address book.
Create a contact
- In Contacts, click New contact in the sidebar. The New contact dialog opens.
- Fill in the contact’s details. You need at least a name, an email address or an organization. All the fields are described below.
- Under Address book, pick where to save the contact. The list shows each address book you can write to, with its account’s email address, such as “Contacts · you@example.com”. It starts on the address book you are looking at, or on the account’s main address book.
- Click Save.
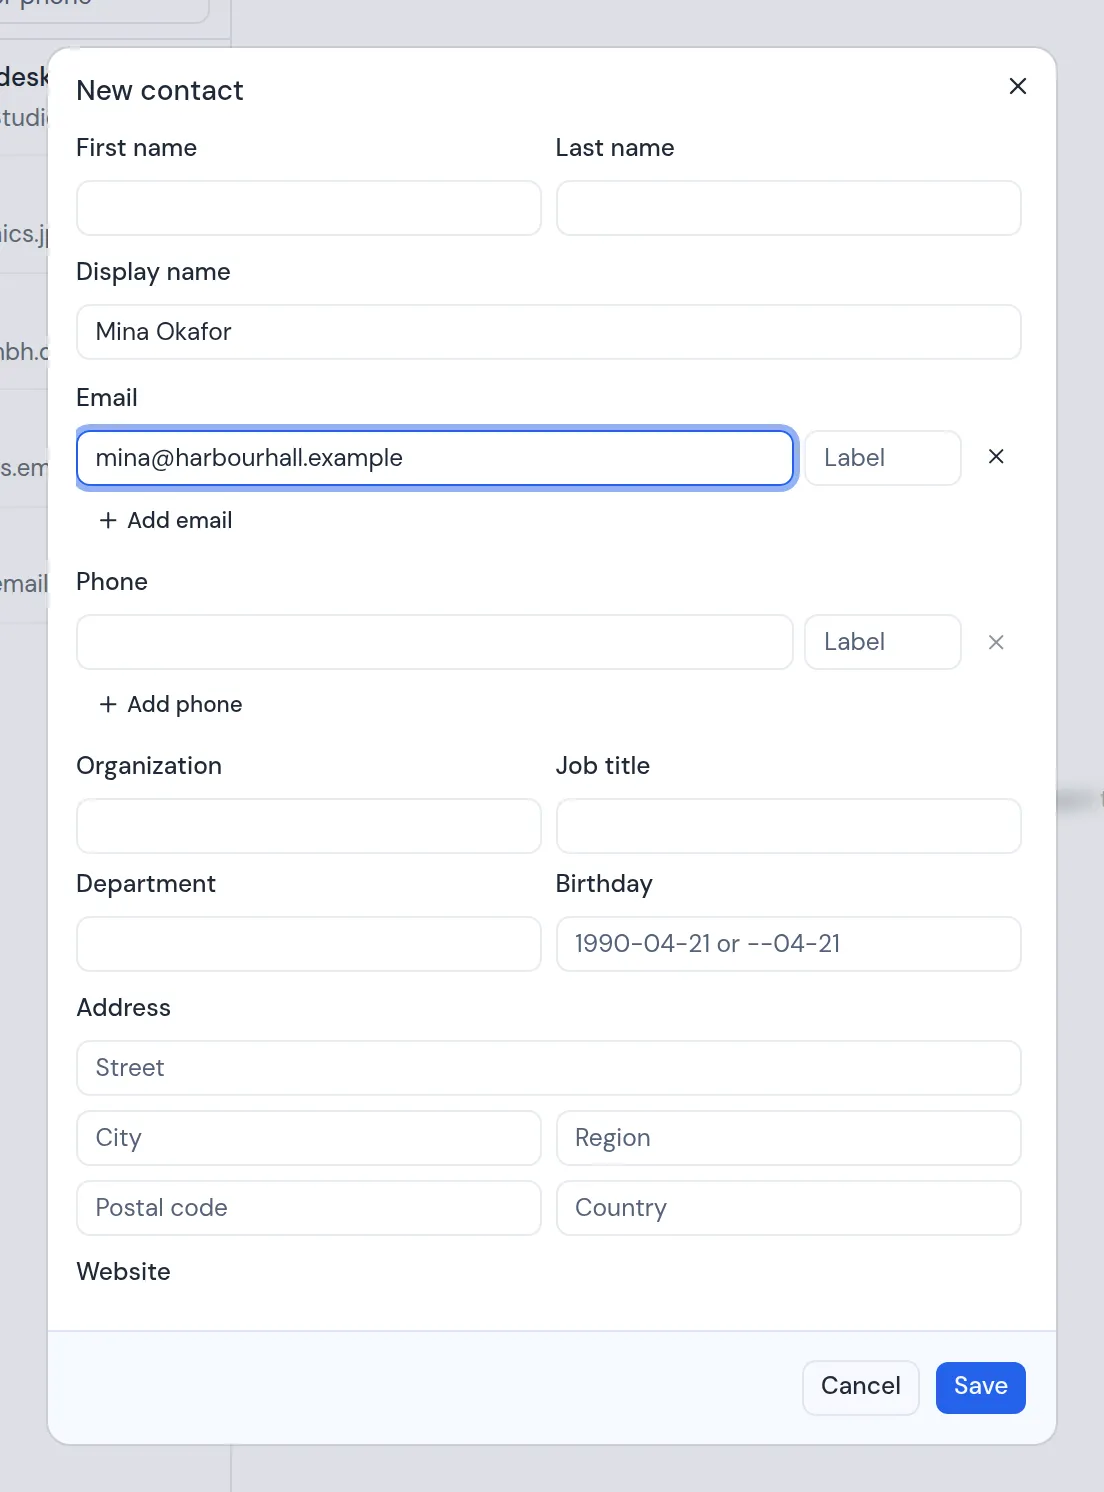
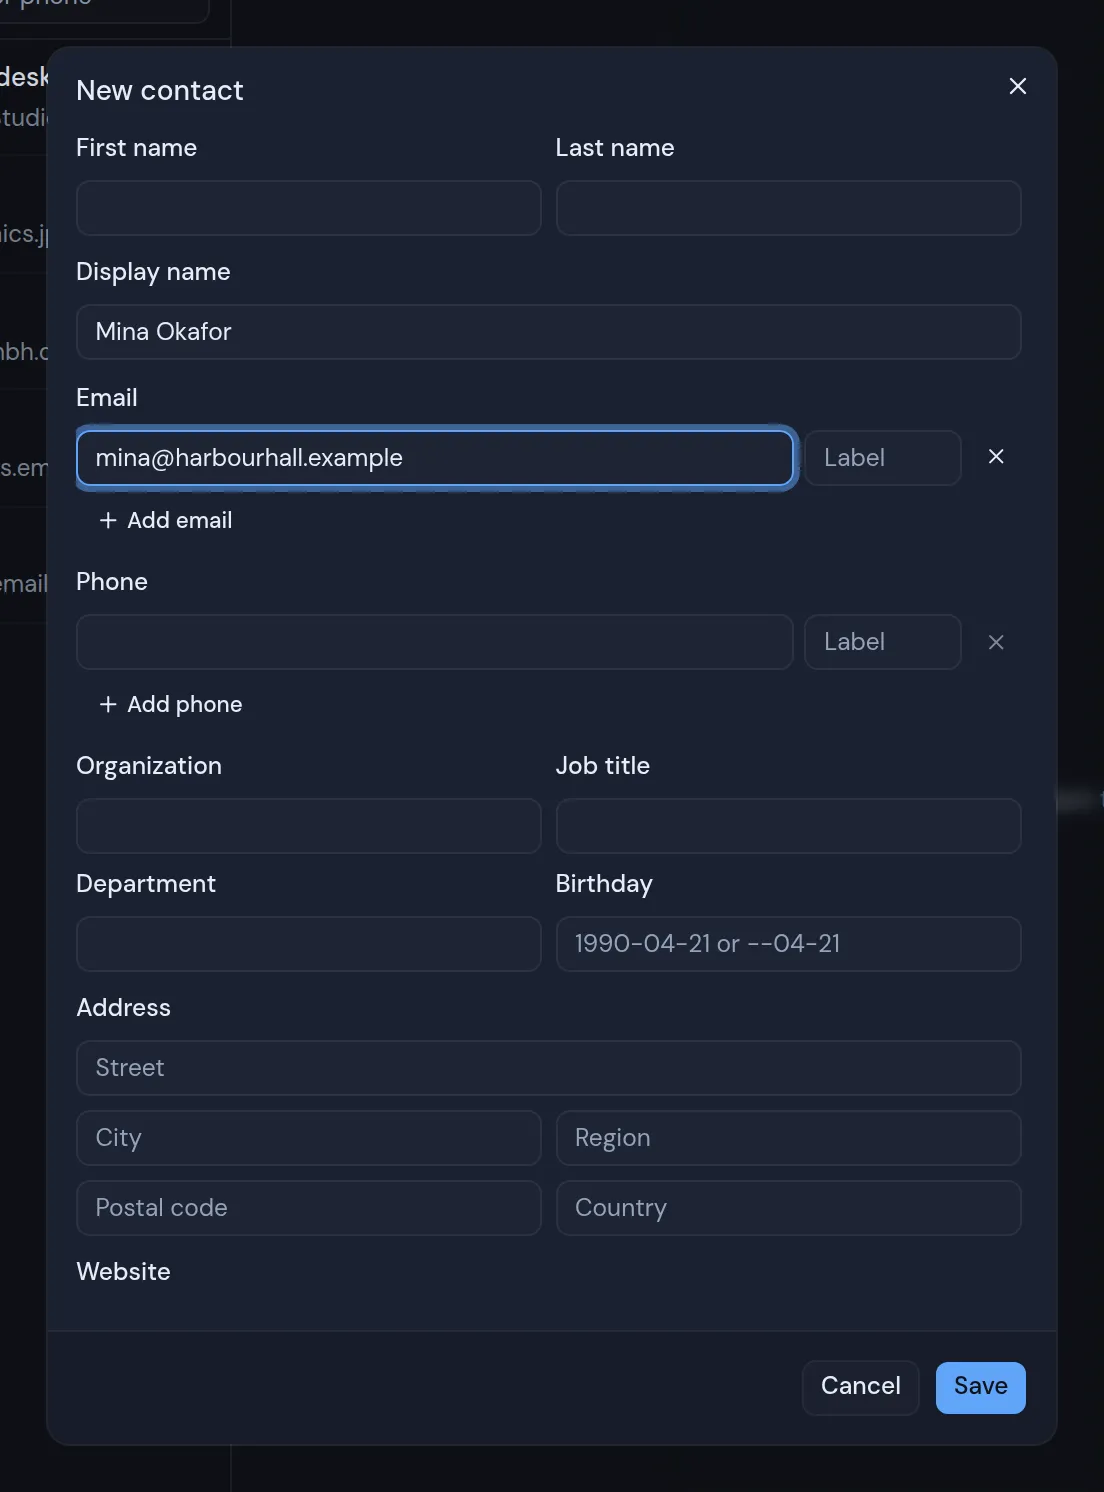
You see “Contact created”, and the new contact’s card opens.
You can also save a person straight from an email. See Save contacts from mail.
Edit a contact
You cannot edit or delete a contact in a read-only address book. Its card shows Edit and Delete turned off. Only contacts servers have read-only address books. See Address book types.
- Open the contact and click Edit. The Edit contact dialog opens with their details filled in.
- Change what you need.
- Click Save. You see “Contact saved”.
You cannot move a contact to another address book. The Address book field shows only when you create a contact.
The contact fields
| Field | What to enter |
|---|---|
| First name, Last name | The person’s name. |
| Display name | The name to show, for a contact without a first or last name, such as a company. It shows only while both name fields are empty. |
| One or more email addresses. Type an optional label beside each one, such as “work”. Click Add email for another row, or the cross to remove one. The first address is the main one. | |
| Phone | One or more phone numbers, each with an optional label. Click Add phone for another row. |
| Organization, Job title, Department | Where the person works and what they do. |
| Birthday | A date such as 1990-04-21, or --04-21 for a birthday without a year. |
| Address | Street, city, region, postal code and country. |
| Website, Notes | A web address, and any notes you want to keep. |
| Groups | Tick the groups the contact belongs to. This shows only when the address book has groups. See Address book types. |
| Address book | Where to save a new contact. It lists only address books you can write to. Read-only address books are left out. |
A contact without an email address is allowed. It shows in Contacts and in workspace search results, where you can find it by name, phone number or organization. It does not show up in the suggestions when you write an email, or in the suggestions for search filters such as from:, because those suggestions work by email address.
What editing keeps
The dialog shows one address and one website. If the contact has more than one at your provider, you edit the first one, and the others stay as they were. A middle name, a name prefix or suffix, and a nickname also stay as they were.
If the contact cannot be saved
The dialog shows a message in red:
- “Give the contact a name, an email or an organization”: fill in at least one of them.
- “someone@example is not an email address”: fix the address it names.
- “Pick an address book”: choose where to save the contact.
- Your provider’s message, or “Could not save the contact”.
Delete a contact
- Open the contact and click Delete.
- The dialog asks “Delete” followed by the contact’s name. It explains that the contact is deleted from its address book at your provider, for every app that uses that address book.
- Click Delete.
You see “Contact deleted”. If it does not work, you see the error, or “Could not delete the contact”.
Metis Suite has no way to bring back a deleted contact.
Who can make changes
Every member of the workspace can create, edit and delete contacts in every address book the workspace shows. That includes address books that someone else connected. Read-only address books are the exception: nobody can change them from Metis Suite.