Show and hide address books
Choose which of an account's address books a workspace shows.
Some contacts accounts hold more than one address book. For example, an Outlook account can have contact folders, and a contacts server can have several address books. For each account in a workspace, you pick which of its address books the workspace shows. The choice applies to everyone in the workspace.
Choose which address books a workspace shows
-
Open the workspace settings: click the workspace tile at the top of the left rail and choose Contacts. You can also choose Add address book in the Switch address book menu.
-
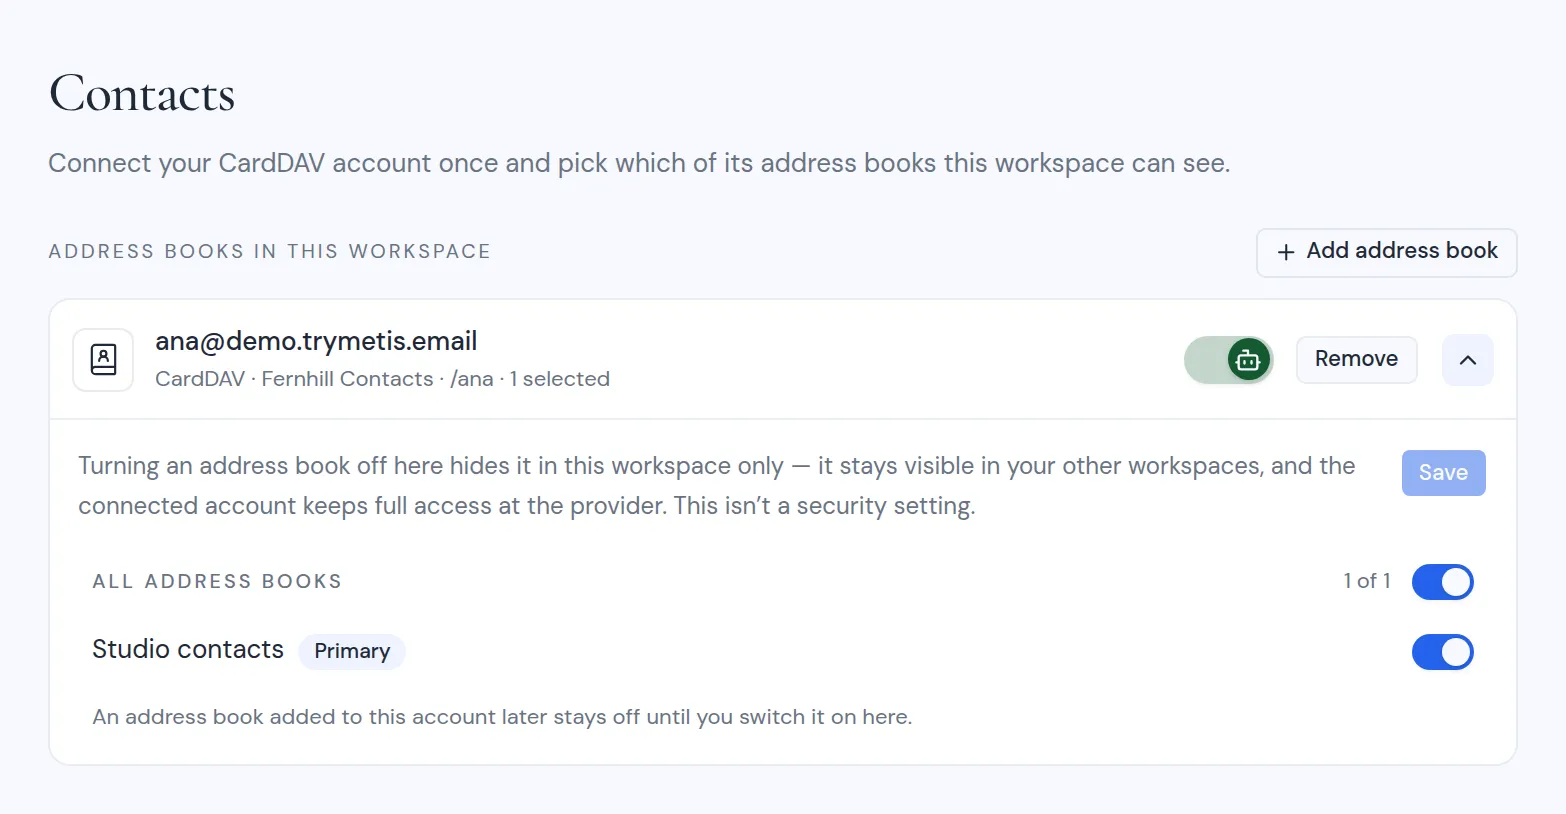
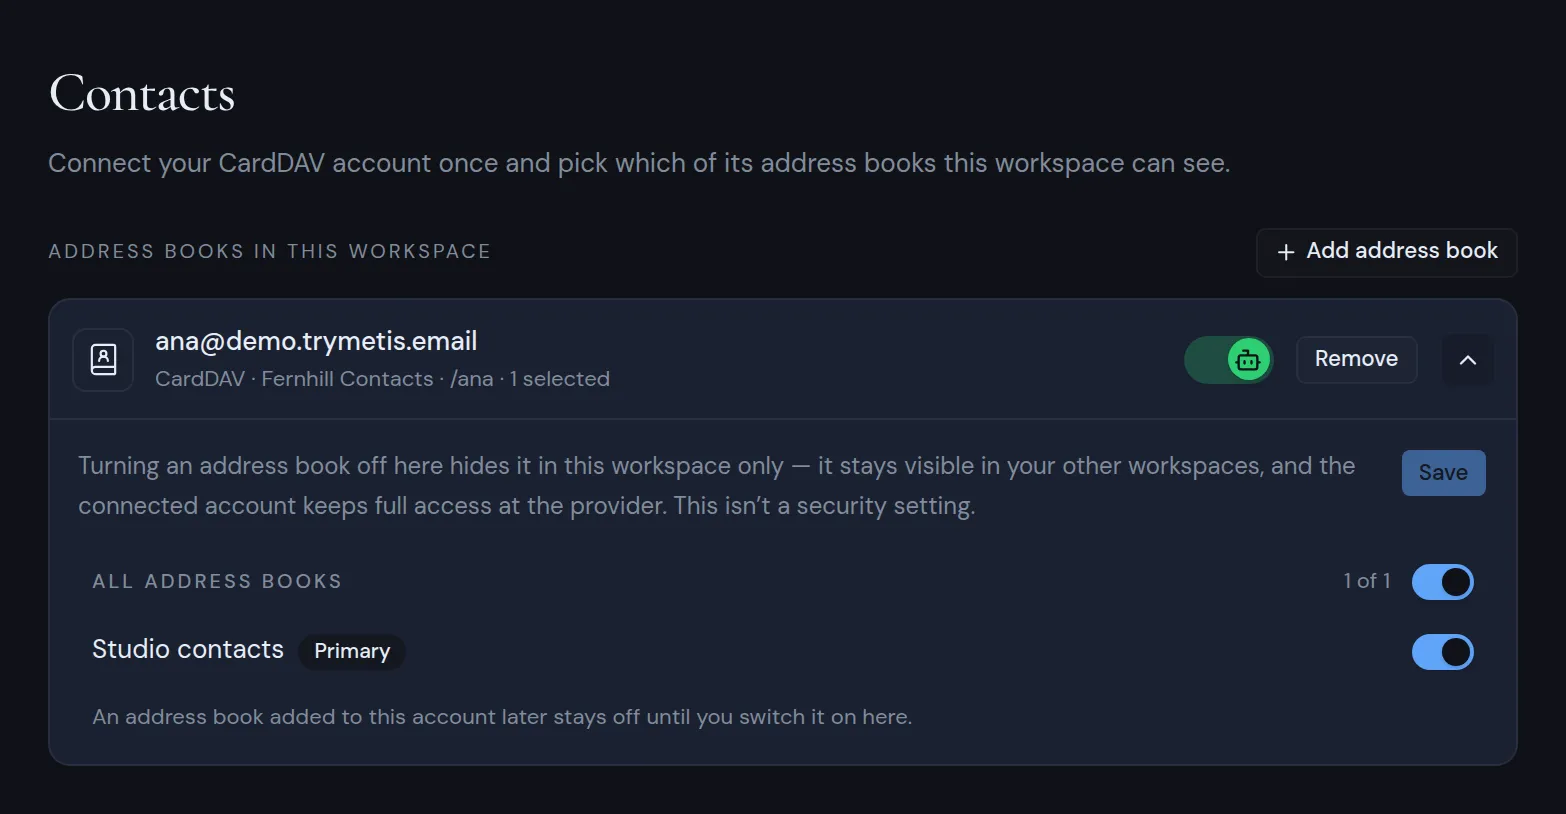
Find the account and click the arrow at the end of its row (Show address books). The list of its address books opens.
-
Turn an address book’s switch on to show it in this workspace, or off to hide it. All address books turns every address book on or off at once, and shows how many are on, such as “1 of 2”.
-
Click Save.
The list marks the account’s main address book with Primary. An address book is marked Read-only when the contacts server reports that your login can only read it. This happens only on contacts servers. See Address book types. The account’s row shows how many address books are on, such as “1 selected”, or “none selected”.
If the contacts sidebar says “None of your address books are showing in this workspace yet.”, click Choose which address books to show. It opens this page with your account highlighted.
Things to know
- New address books stay off. If you later add an address book to the account at your provider, it stays off in this workspace until you switch it on here.
- This is per workspace. Turning an address book off here hides it in this workspace only. It still shows in your other workspaces.
- This is not a security setting. The connected account still has full access to all its address books at the provider. Turning an address book off only hides it inside Metis Suite.
- Hidden address books are left out of the workspace. Their contacts do not show in Contacts or in the suggestions when you write an email.
- Who can change it: a workspace owner or admin, or the person who connected the account. Everyone else sees the switches, but cannot change them.
If the list cannot load, you see a message such as “Could not reach the provider”. If your changes cannot be saved, you see a message such as “Could not save”. If the account has no address books, you see “No address books came back from this account.”
To add or remove address book accounts in a workspace, see Add an address book.